If you’re reading this article, then chances are you have some tender plants or seedlings that you need to keep warm through the colder months. While greenhouses are amazing things, they can take up a lot of room and sometimes we just don’t have the space or the budget to justify getting one.
Using one or more cold frames is a great way to keep your plants safe without using up too much space and can be cheap, easy and even a scalable solution.
Traditionally, cold frames have consisted of a wooden frame with an angled glass window allowing the light to stream in. They normally look a bit like a miniature greenhouse. However, provided you can keep your plants safe from the cold weather and give them enough natural light, then really a cold frame could take many different forms.
Depending on your space and the plants you have, you might want to make one large cold frame or could even have several smaller ones. Here we have 5 great ideas for making your own DIY cold frames.
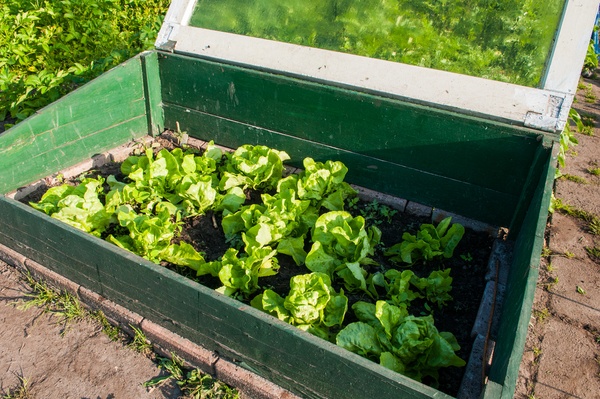
1. Traditional Wooden Cold Frame
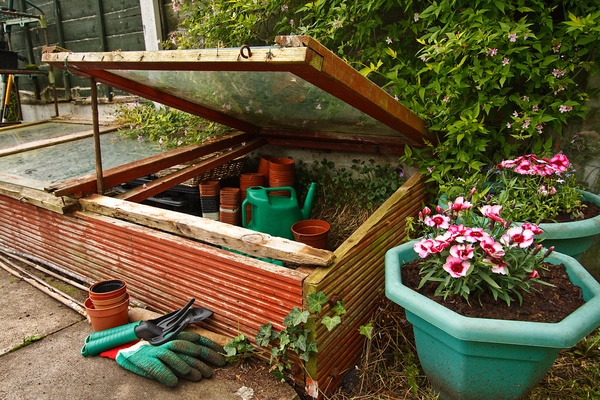
Wooden cold frames are probably the most common kind and they tend to follow a standard, common design. They tend to consist of a short wide box with a slightly sloping top, constructed from a wooden frame with glass or plastic panels forming the sides and top sections. They can be quite expensive to buy and so making your own is an appealing option and not too tricky with some basic DIY tools.
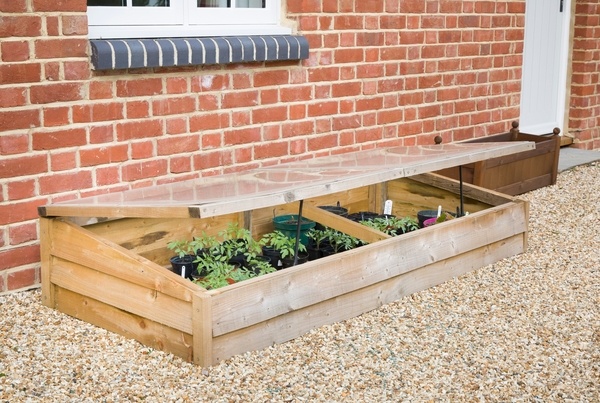
The frame can be made from any kind of timber you have lying around really, provided you can construct something with relatively even sides. If the wood you have is untreated, then you might need to add some weather proofing – varnish / paint etc… Some folks simply use recycled window frames, mounted on a wooden base.
Besides using glass or poly-carbonate sheeting, you could also use transparent tarpaulin, stretched across the frame and stapled or taped across the frame. When looking for such materials it’s best to find UV resistant sheets if you want it to last beyond one growing season, as the sun can degrade it very quickly otherwise.
2. Hoop House / Cloche
Just like a wooden cold frame is often seen as a ‘mini greenhouse’, a small hoop house or covered cloche could perhaps be seen as a ‘mini poly tunnel’.
There are various ways to construct these but basically feature a number of curved pieces or ‘hoops’, which are then covered in a plastic sheet of some kind which is pulled taught to create a dome roof section.
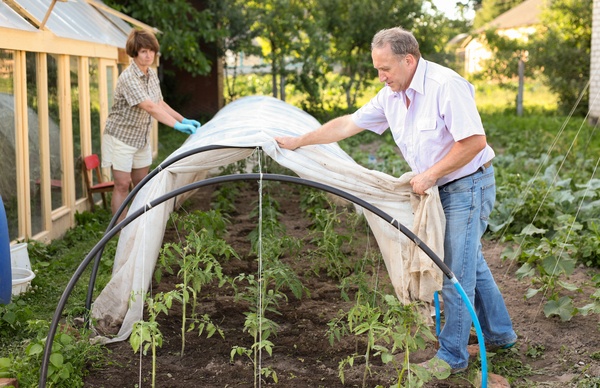
More substantial designs might feature a wooden frame at the bottom or the curved roof section might be fixed to an existing raised bed. Alternatively, you could create a more lightweight structure which could be moved around as and when required – perhaps to cover different areas of growing space on the ground.
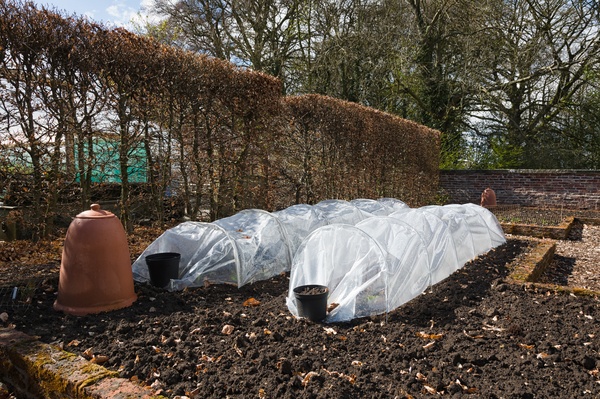
This type of cold frame can be a fairly cost effective option, as the materials required are usually cheap and easy to come by. I’ve seen many allotments covered in DIY cloche structures and the hoops are often made from things like recycled PVC pipe, rubber hoses or even upcycled steel frames from old trampolines or furniture.
Again, when sourcing plastic sheeting to cover your hoop house, try to find something heavy-duty and UV resistant if possible.
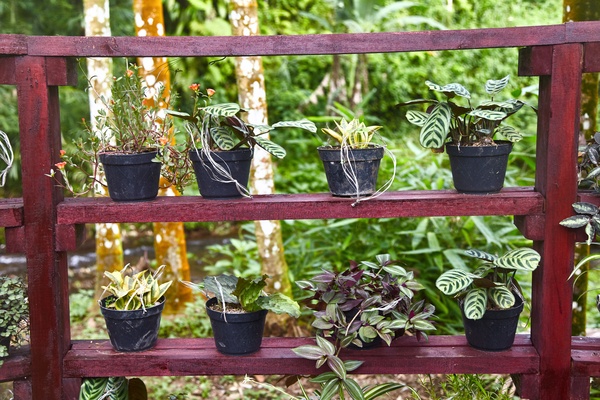
3. Shelving Unit
I’ve tried a couple of cheap cold frames made from thin metal tubing with a polythene zip-up cover. You might have seen these for sale in large home stores or garden centres. They are basically lightweight shelving units with a plastic sheet cover, and although they’re handy in a sheltered spot, I’ve found them to be a bit too flimsy for sustained use. Certainly there have been a couple of times that I found mine upturned by strong winds, leaving my precious plants and seedlings scattered across the floor to perish in the cold.
There’s not really any reason that you couldn’t make a more substantial version from a wooden or metal shelving unit – whether that’s one you buy specially, or perhaps something you have lying around. It might be worth looking in a charity shop or at your local recycling centre for some cheap shelving units that are sturdy and could be re-purposed. Another good option might be to use the plastic or metal utility shelving – the kind you find in DIY shops, which is usually used for storage in sheds and garages.
Try to make sure that your shelves are South-facing and get plenty of sunlight. For safety, you might wish to secure your shelf unit by fixing it into the ground or against a wall or fence.
Once you have your shelving unit in a sunny spot, you just need to find a suitable cover, which could be as simple as a transparent tarpaulin, stretched over the unit and fixed at the sides with staples, tape or with bungee cords. For something more substantial, you could fix poly- carbonate panels to the top and sides.
Besides covering your shelf unit with plastic sheeting, you could also use it to house a number of transparent storage boxes – as covered in the next section…
4. Storage Boxes
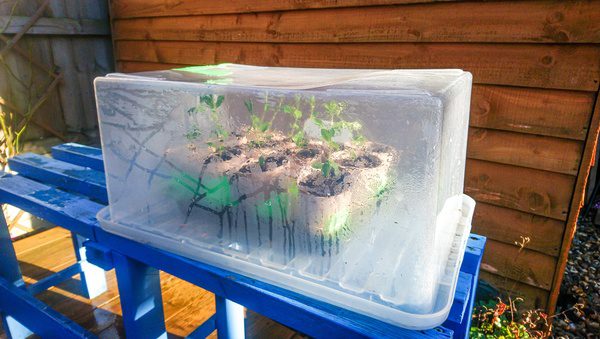
If you’re looking for a very quick, small and portable cold frame solution, then you might find a transparent plastic storage box is all you need. These are easy to find these days and besides buying new from bargain shops and larger supermarkets, you might even get second hand ones from sites like eBay or Facebook Marketplace.
In terms of types of storage boxes, taller is better, particularly for growing on larger seedlings. Of course, they’ll need transparent and ideally, as clear as possible in order to let plenty of daylight through.
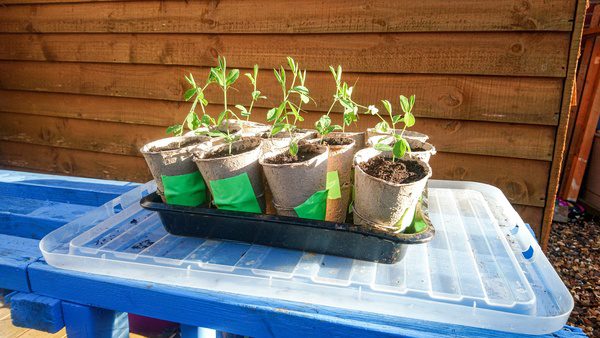
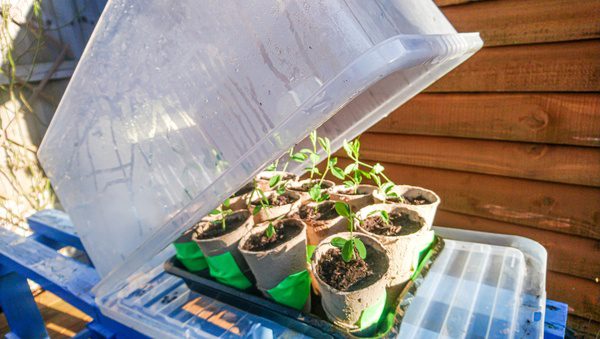
The best way that I’ve found to use these as miniature greenhouses, is to turn them upside down and rest your plants in a tray on the upturned lid. You then simply place the upturned box on top of the lid to make a miniature, portable greenhouse. Many will form a decent seal around the edge, and some even click shut with handles at the sides. This is ideal for keeping out the slugs and bugs and makes it easy to move the whole lot around – such as bringing them indoors when hard frosts are expected.
It might be a good idea to drill small holes in the top or side for ventilation and you’ll possibly need to lift the lid during sunny days once the warmer weather arrives.
You could use as many storage boxes as you have room for and if space is a problem, they can even be stacked or stored on an outdoor shelving unit – as covered in the previous section.
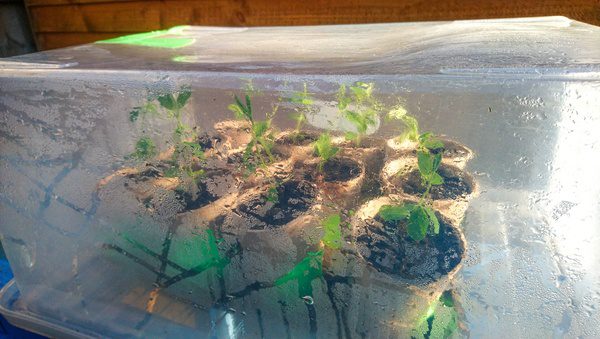
5. Plastic Water / Milk Containers
We’ve talked about ‘mini’ greenhouses, but this final idea takes it one step further. By using recycled, transparent water / milk containers, you can actually create a collection of tiny greenhouses, which can keep your seedlings safe while they germinate and start to grow.
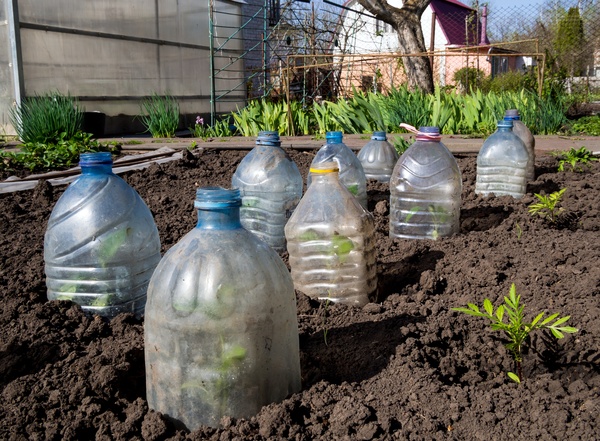
One method is to fill the bottom of your container and sow seeds directly, ready for germination. Otherwise, you could cut the bottom of the container off and use the top section to cover outdoor seedlings with their own private mini-greenhouse.
Top tip: Winter Sowing Method
Using plastic bottles can be perfect for winter sowing hardy annuals and even some vegetable seeds. Commonly known as the ‘winter sowing method’, this is a quick and easy way to start seeds off in the colder months without the need for any special equipment – such as propagators or grow lamps.
In this video, Laura from Garden Answer takes us through the winter sowing process with some great tips…
This winter sowing method is such a great way to start seeds early in the year. It’s cheap, it’s easy and it’s low maintenance – what’s not to like?!
Final Thoughts
While shop-made wooden cold frames are usually well made and look the part, they can also be a very expensive option. When you consider that you might only use your cold frame for part of the year, making something that’s cheap and easy to move around makes a lot of sense. You can make something from cheap materials which are usually easy to find and provided you can give your plants enough light and shelter from the cold, there’s really no rules as to how you might design your cold frame.
Let us know how you get on with making your own DIY cold frame in the comments below. We’d love to hear about your lessons learned and successes. Happy gardening!
I have always been a fan of hoop houses. And in my past two houses, I always installed one. But my wife is getting tired about it and was suggesting me to try shelving units. We have less space in this house. All our children have grown up so we do not need that much space any more. But I kinda miss my hoop houses.
Thanks Abel, yes a decent sized hoop house is a nice thing to have in the garden, especially for ‘pottering about’ – potting up plants and sowing seeds etc… However, if you just need somewhere to start of some young plants or seeds to get ahead of the growing season, then something like a covered shelf-unit or other cold frame is ideal. If you’re very short on space, you could even build something that could be stored away or repurposed for other uses once the weather warms up and your plants can be planted out. The shelf idea is good because it can make the most of vertical space too.